

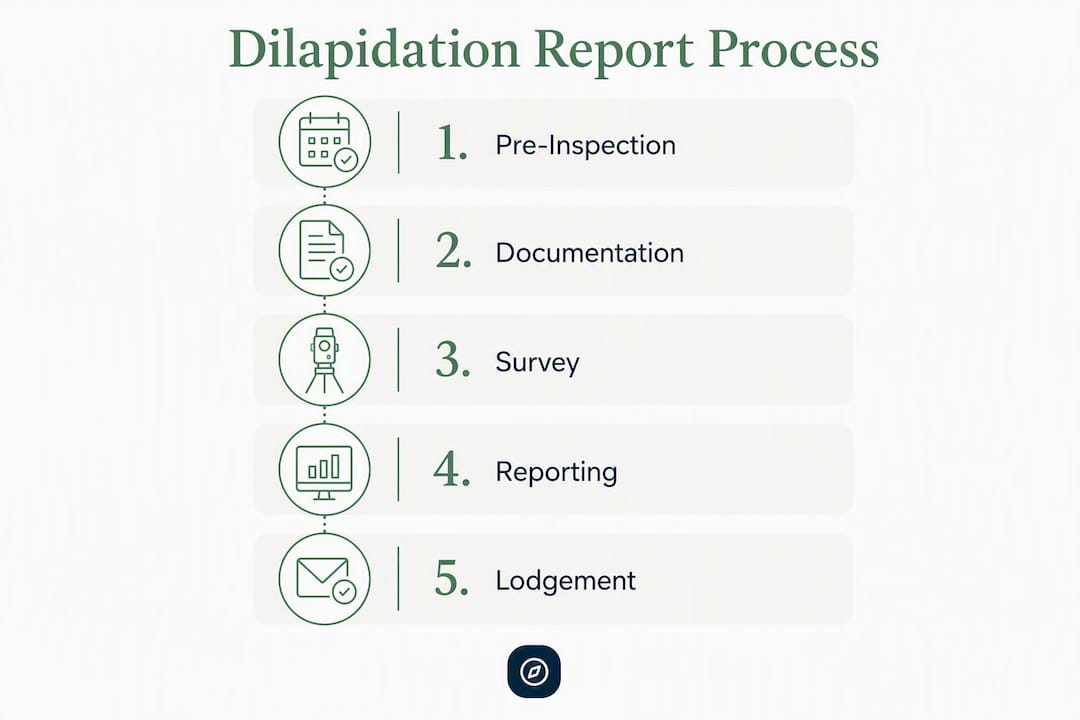
If your Sydney renovation involves excavation, demolition, piling, or work near a boundary or public infrastructure, you almost certainly need a dilapidation report before a single shovel breaks ground. Local councils across Sydney commonly require one as a DA condition, and under the Environmental Planning and Assessment Act 1979 (NSW) framework, work often cannot legally start until the pre-construction survey is completed and lodged with your accredited certifier or council.
Here is what to do right now:
- Pull out your Development Application (DA) consent or certifier notice and check for any dilapidation condition.
- Request a written quote from a qualified structural engineer, registered building consultant, or specialist dilapidation surveyor.
- Do not let any site works begin before the pre-construction survey is lodged as required.
- Ask your inspector to include a post-construction comparison option and a timestamped photographic and video baseline in the scope.
Pro Tip: A compliant report typically runs 20–80 pages depending on property size and condition. Ask for a sample report or template with the written quote so you know exactly what you are paying for.
Table of Contents
- Why a post-construction comparison report protects you in disputes
- Common pitfalls to avoid when commissioning a report in Sydney
- How Sydney LGA policies shape dilapidation requirements
- Using a dilapidation report in NSW disputes and insurance claims
- Lodgement and legal steps before works start in NSW
- Key Takeaways
- The report is insurance, not paperwork
- How Navilot helps you prepare before you commission a report
- Useful sources and next steps
Why a post-construction comparison report protects you in disputes
The pre-construction survey alone is only half the picture. Its real power comes from pairing it with a post-construction inspection that creates a definitive before-and-after timeline. Without that second report, a neighbour can claim new cracking was caused by your works, and you have no dated baseline to counter it.
Industry guidance frames the two-report pair as the defensible standard for exactly this reason. A high-quality report annotates each defect with severity classifications, precise locations, crack-width measurements where relevant, and high-resolution photos and video with timestamps and GPS markers to make the evidence admissible in insurance or civil claims. That level of detail is what separates a useful document from a liability.
Dilapidation reports differ from standard building inspections: they are a legal risk-management snapshot tied to a specific construction event, not a general health check for buyers.
Common pitfalls to avoid when commissioning a report in Sydney
Skipping public assets. Councils commonly require documentation of kerbs, footpaths, street trees, and other public domain items within the works zone. Miss them, and you may be held liable for pre-existing damage you never caused.
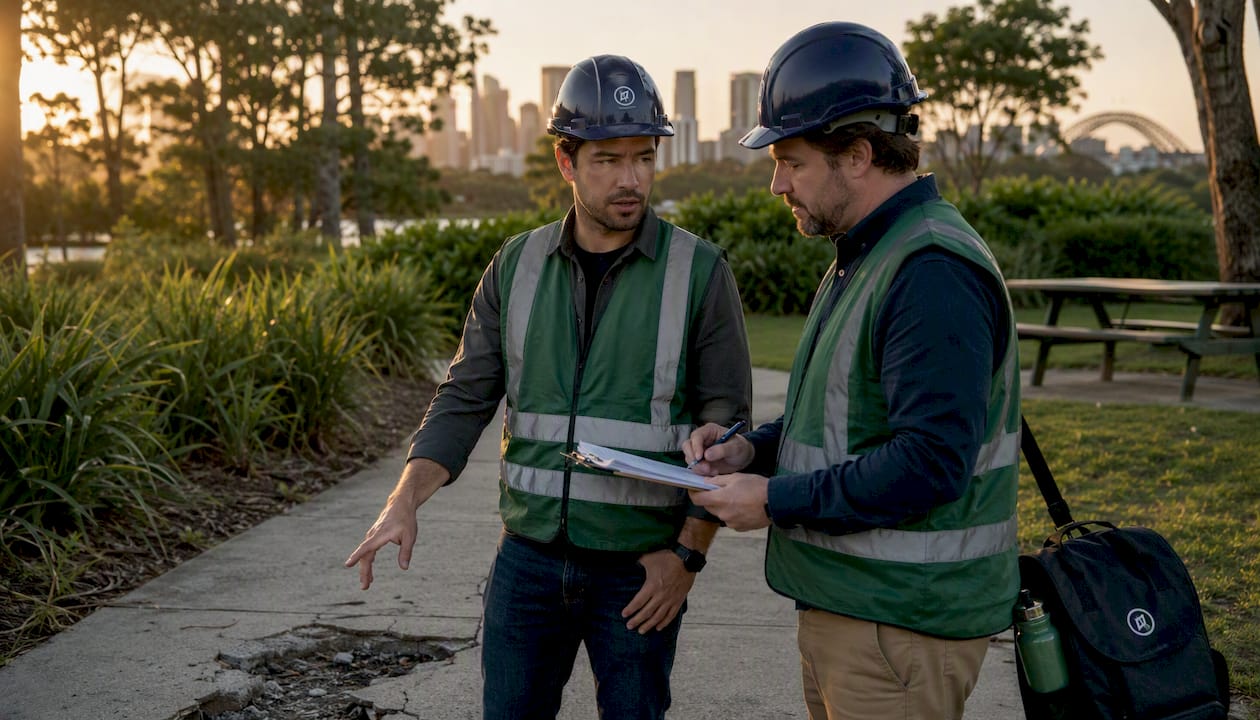
Starting works before lodgement. If work begins before the report is lodged, subsequent damage is legally attributed to your project by default. Proving a defect was pre-existing becomes nearly impossible.
Using a stale report. If your project is delayed significantly, practitioners recommend an updated assessment before works resume, since conditions can change and an older baseline may lose legal effectiveness.
Not checking inspector credentials. Require the inspector to state their professional membership — a chartered structural engineer, registered building consultant, or equivalent — and confirm professional indemnity insurance in the written quote.
How Sydney LGA policies shape dilapidation requirements
The City of Sydney's recommended conditions of consent require a photographic dilapidation survey prepared by a qualified structural engineer, lodged with the accredited certifier and council before the construction certificate or works begin, with a second report required after completion. The Sydney Streets technical specifications extend that scope to all items within 6 metres of the works: facades, basements, trees, street furniture, footpaths, kerbstones, services, and pits, with dated photos and video required.
Other Sydney LGAs follow similar frameworks through their own Development Control Plans. Always check your specific council's DCP alongside the DA consent conditions, since requirements vary by LGA and project type. Your construction certificate will not be issued until lodgement is confirmed.
Using a dilapidation report in NSW disputes and insurance claims
When a dispute arises, the report's timestamped photographic record is your primary evidence. In NSW, property damage disputes between neighbours typically go through the NSW Civil and Administrative Tribunal (NCAT) for lower-value claims, or the District Court for larger ones. A well-prepared dilapidation report gives NCAT or a court a clear, independent baseline to compare against post-construction conditions.
For insurance claims, your insurer will ask for the same evidence. A report with GPS-tagged photos, a crack schedule, and severity classifications is far more persuasive than a verbal account. Commissioning the report through a credentialed professional also strengthens its weight as independent expert evidence.
Lodgement and legal steps before works start in NSW
The sequence matters. Under a typical DA condition, the pre-construction report must be lodged with the accredited certifier before the construction certificate is issued. Some councils also require a copy to be provided to affected adjoining owners. Confirm both requirements in your consent conditions.
Where affected owners are involved, written acknowledgement may be required. Keep copies of all correspondence. Once works are complete, lodge the post-construction report with the same parties and retain your own copy for at least the duration of any statutory warranty period.
Key Takeaways
A dilapidation report in Sydney is a legal requirement for most excavation, demolition, or boundary-adjacent works, and the pre- and post-construction pair is the only defensible standard for protecting yourself in disputes.
| Point | Details |
|---|---|
| Check DA conditions first | Pull your consent notice and confirm whether a dilapidation report is a lodgement condition before any works start. |
| Commission before breaking ground | Works begun before lodgement make it nearly impossible to prove pre-existing defects. |
| Cover public assets | Require kerbs, footpaths, and street trees within 6 metres of works to be documented in the scope. |
| Cost varies with scope | Indicative residential quotes vary by project scope; always get a written quote specifying scope and inclusions. |
| Navilot for preparation | Use Navilot's guided checklist to identify your DA conditions and organize your quote brief before approaching a structural engineer or surveyor. |
The report is insurance, not paperwork
Most homeowners treat a dilapidation report as a box to tick before council will let them start. That framing costs them. The report's real value is what it does after works finish: it closes the window on baseless damage claims from neighbours and gives your insurer something concrete to work with. A pre-construction survey without a post-construction follow-up is like taking out insurance and cancelling it the day before you need it.
Three things worth insisting on when you commission:
- Verify the inspector holds chartered or registered status — a structural engineer (CPEng or MIEAust) or a registered building consultant — and that professional indemnity insurance is stated in the quote.
- Require timestamped, GPS-tagged photos and video, not just static images. Dated metadata is what makes the record admissible.
- Ask for a sample report or template with the quote. A credible inspector will provide one without hesitation.
The independent record also functions as neighbourhood diplomacy. An affected owner who receives a copy of the pre-construction survey before works start is far less likely to escalate a minor crack into a formal dispute.
How Navilot helps you prepare before you commission a report
Knowing you need a dilapidation report is one thing. Knowing exactly what your DA conditions require, which properties fall within scope, and what to put in a written brief to a structural engineer is where most homeowners lose time.
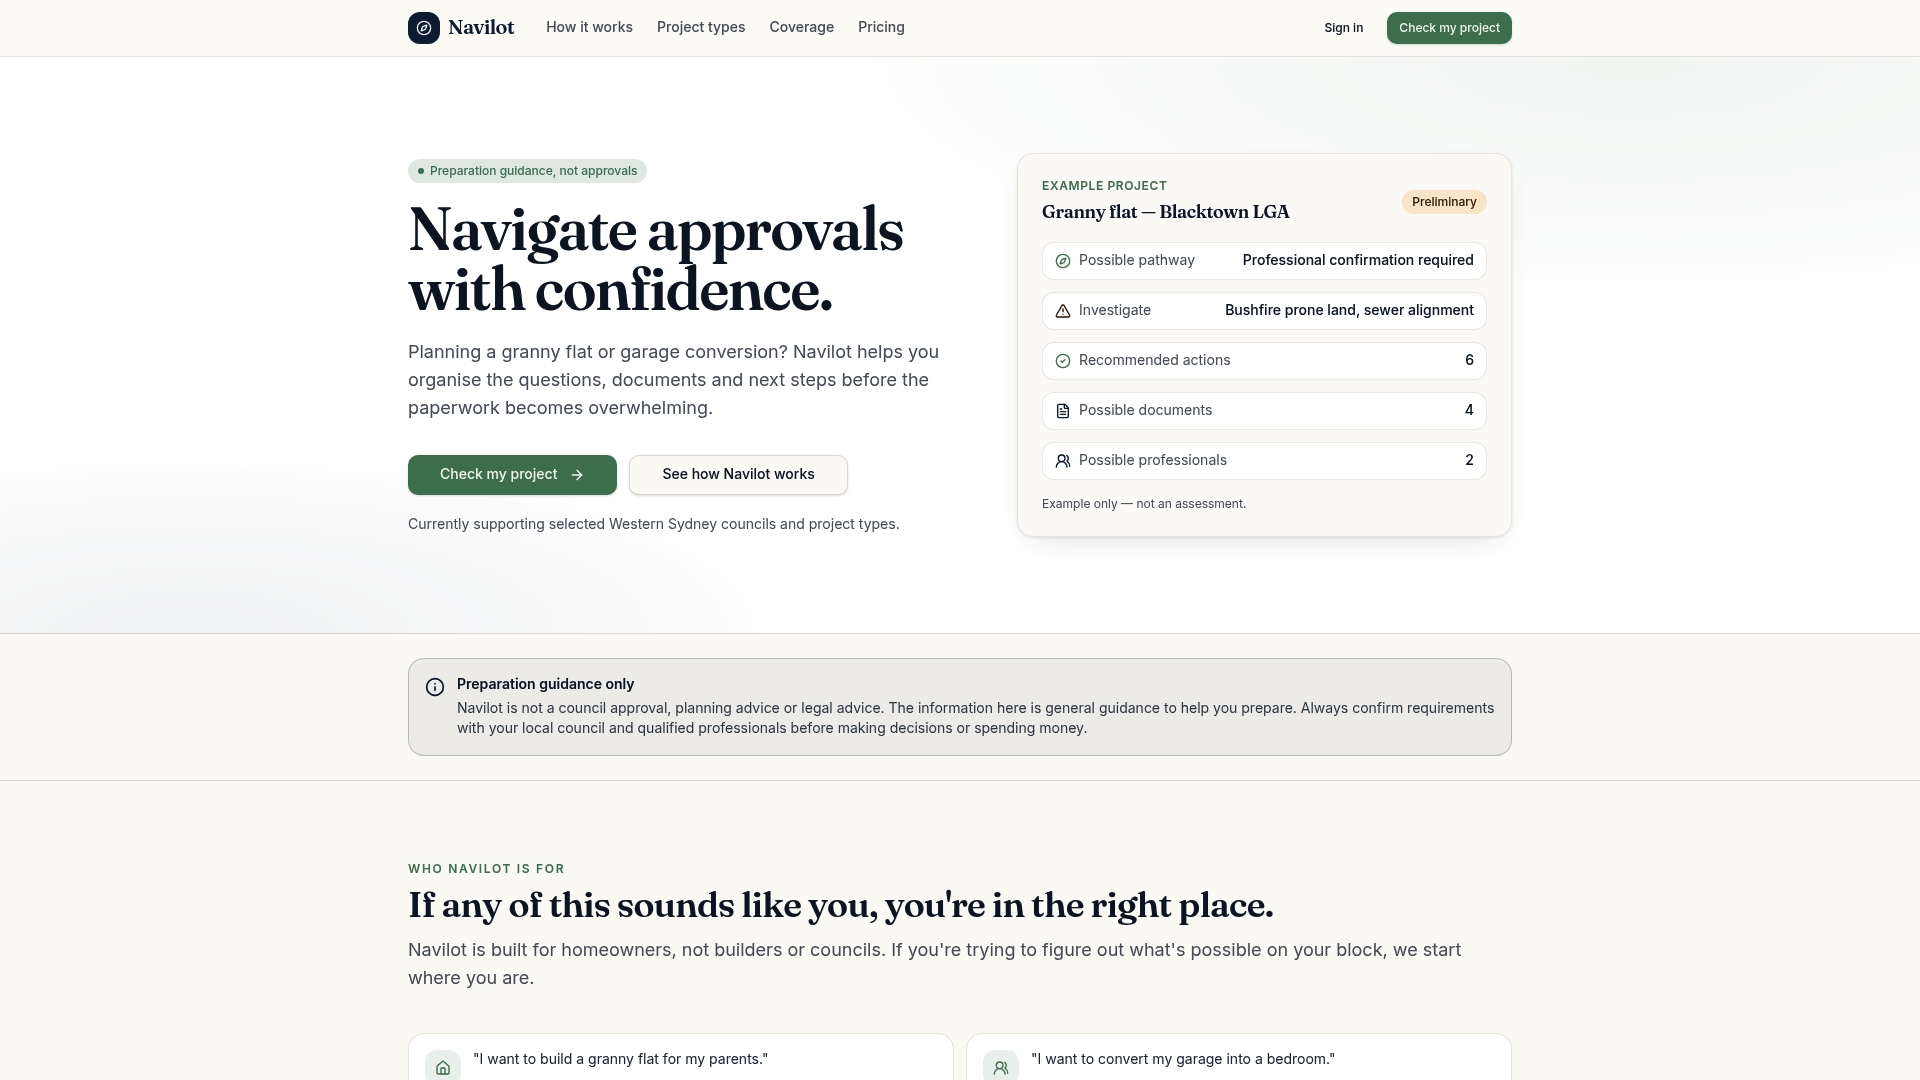
Navilot's guided property questionnaire identifies whether a dilapidation report is likely required for your specific project and generates a DA-linked checklist you can hand directly to your certifier or inspector. The document workspace lets you store the pre-construction report, track lodgement with your certifier, and keep copies for affected owners, all in one place. Typical reports run 20–80 pages; having a clear scope brief ready before you call an inspector saves back-and-forth and helps you compare quotes accurately.
Navilot prepares the checklist and document workspace. It does not act as the certifier or replace the qualified structural engineer you still need to commission. See how the platform works and start a free project to generate your tailored approval checklist today.
Useful sources and next steps
Before you commission a report or meet with a certifier, these are the authoritative references to have on hand:
- Environmental Planning and Assessment Act 1979 (NSW) — the legislative framework underpinning DA conditions and consent requirements.
- City of Sydney Recommended Conditions of Consent — specific lodgement and two-report requirements for City of Sydney projects.
- Sydney Streets Technical Specifications B1 — detailed scope requirements for public domain coverage within 6 metres of works.
- Your council's Development Control Plan — check your specific LGA's DCP for any additional conditions beyond the DA consent.
When you meet your certifier or inspector, bring: a copy of your DA consent conditions, site access windows for adjoining properties, and a list of adjoining owner contact details where acknowledgement is required.
For every written quote, verify it covers: scope (which properties and public assets), deliverables (photos, video, crack schedule), inspector credentials and indemnity insurance, turnaround time, and a post-construction comparison option.
Check whether Navilot covers your council and project type before you start, then use the platform to build your quote brief and document checklist.